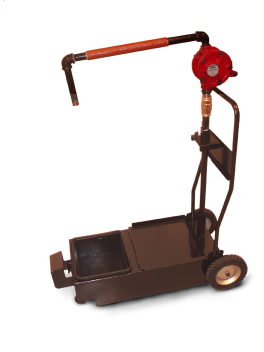
Assembling the ODS 300 or 310

|
Heavy Object Take care when moving the shuttle components to prevent personal injury. The shuttle weighs:
|
-
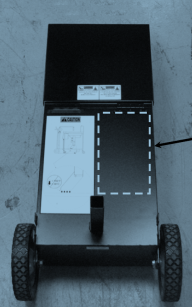
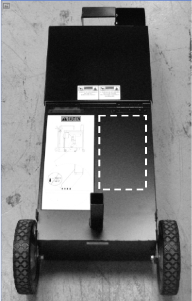
Obtain the sheet of warning labels, and then choose your preferred language. Apply the label to the ODS drain pan in the area marked by the dotted lines.
-
Clean the threads, and then apply thread tape or sealant to connections.
-
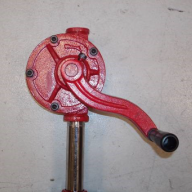
Attach the pump handle.
-
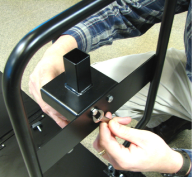
Bolt the down-pipe retaining bracket to the handle using the supplied hardware.
-
Slide the pump and tube through the center square in the retaining bracket.
-
Fit the end of the down-pipe into the round tube on the drain pan.
-
Insert thumb screw through the retaining bracket and secure the down tube.
-
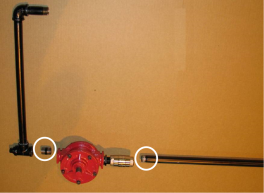
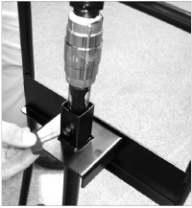
Attach the drain-pipe assembly to the top of the pump assembly, and then align and tighten.
Additional ODS 310 Steps
The assembly process is the same as the model 300 with the following exceptions. The identified parts are different and require additional installation steps.

-
Install the standpipe bracket (5) to the handle (7) using supplied hardware.
-
Install the upper standpipe (6) to and through the top of the standpipe bracket (5).
-
Install the Barb/Pickup assembly (10) to the flexible standpipe, silicon hose (1).
-
Install the lower flexible standpipe, silicon hose (1) to and through the bottom of the stand pipe bracket (5).
-
Install the hand pump (2) to the top of the standpipe (6).