|
|
|
Daily Filter Pan Maintenance
|
NOTICE - |
During installation and reassembly be sure to apply oil to all O-rings to lubricate and to help prevent tears and oil loss. Visually inspect O-rings and replace if worn or damaged.
Every 90 days replace O-rings. Remove O-rings from their groove and install new O-rings by gently rolling into place and lubricating with oil.
Use a small blunt object to gently pry O-rings from their groove to inspect for damage. Install by lubricating then gently rolling them in to place. |
Use these steps when initially assembling the filter pan, installing a new filter, reassembling the filter pan assembly, and after disassembling and cleaning the filter pan.
-
Ensure the drain pan has sufficiently cooled or wear thermal insulated gloves.
-
Unlatch and pull out the filter pan.
-
Remove filter pan lid.
-
Remove the crumb basket.
-
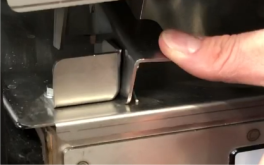
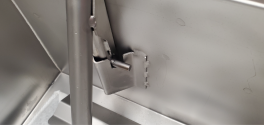
Disengage the PNP unit from the welded bracket.
-
Remove the screen and PNP unit together.
-
Rotate the tube counterclockwise to assist in loosening the dairy union. Note: The dairy union is typically hotter than the tube due to its solid construction compared to the hollow tube.
-
Carefully unscrew the dairy union completely.
-
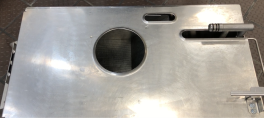
Remove and empty any contents from the drain pan.
-
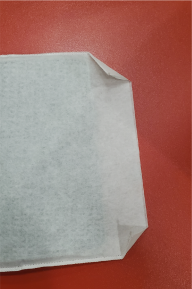
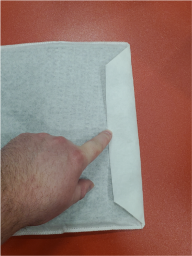
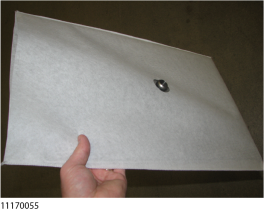
Slide a filter envelope on to the filter screen. Make sure to center the threaded part of the filter screen into the center of the filter paper. Take care to not tear the filter envelope.
-
Fold-over the end of the filter envelope, and then slide a handle-clamp over the end. Ensure the handle faces the center plug.
-
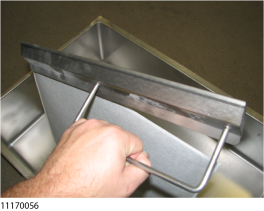
Position the filter screen assembly within the drain pan.
-
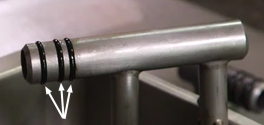
Install three o-rings into grooves of the PnP adapter.
-
Apply mineral oil to each o-ring.
-
Align and seat the pins on the pickup tube into the welded bracket on the drain pan.

-
Ensure the dairy union is properly aligned, with the bevel edge seated into the threaded area of the screen.
-
Attach the PNP unit to the threaded section, ensuring correct orientation.
-
Thread the dairy union onto the assembly until it is snug, approximately 3.25 full rotations.
-
Verify the assembly is fully seated onto the welded bracket at the rear.
-
Place the crumb catcher into the filter pan so both legs are behind the pickup tube.
-
Place the lid onto filter pan. Slide the lid back and forth to ensure it is captured on the drain pan and not able to slide off.
-
Push the filter pan into place and lock it into place using the locking latch.
IMPORTANT: Failure to ensure assembly is seated correctly may result in the pipe becoming top heavy. This can cause the dairy union to loosen if it not positioned correctly within the pin location.
NOTE: The lid may need to be pushed rearward for proper latch engagement.