|
|
|
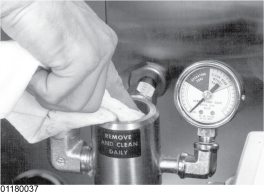
Cleaning the Deadweight
At the end of the day, the deadweight assembly valve must be cleaned as follows:

|
To avoid severe burns, do not remove deadweight cap while operating fryer. |

|
To avoid personal injury:
|
-
Turn the main power switch to the off position. be sure all pressure has been released and open the lid.

-
Unscrew the deadweight cap and remove the cap and deadweight.

-
Clean the exhaust tube with stainless steel brush (Part No. 12147).
-
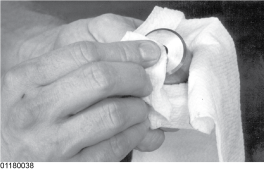
Clean the deadweight cap and weight in hot detergent water. Make certain to thoroughly clean the inside of the valve cap and the deadweight.
-
Clean the deadweight orifice and the inside of the deadweight assembly body with a clean lint-free cloth.
-
Dry the deadweight and deadweight assembly cap.
-
Replace deadweight and deadweight assembly cap. Finger tighten the cap.