Assembling the Filter Pan
|
NOTICE - |
During installation and reassembly be sure to apply oil to all O-rings to lubricate and to help prevent tears and oil loss. Visually inspect O-rings and replace if worn or damaged.
Every 90 days replace O-rings. Remove O-rings from their groove and install new O-rings by gently rolling into place and lubricating with oil.
Use a small blunt object to gently pry O-rings from their groove to inspect for damage. Install by lubricating then gently rolling them in to place. |
NOTICE:
-
Use a small screw driver to gently pry o-rings from their groove to inspect for damage. Reinstall by gently rolling them in to place.
-
Watch a short video explaining how to lubricate the o-rings after installation.
Use these steps after disassembling and cleaning the filter pan, to install a new filter and reassemble the filtration system and pan assembly.
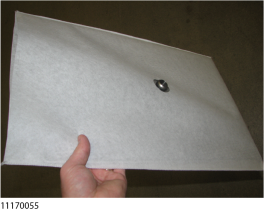
-
Slide a filter envelope on to the filter screen so the plug is protruding through the hole.

-
Fold-over the end of the filter envelope, and then slide a handle-clamp over the end. Ensure the handle faces the center plug.
-
Slide a handle clamp on to the other ends of the filter screen assembly. Ensure the handle faces the center plug.
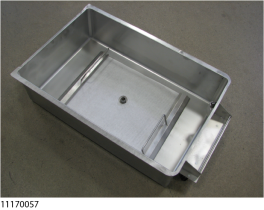
-
Place the filter screen in the bottom of the filter pan with the plug side up.
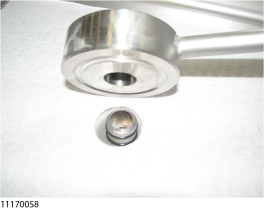
-
Align the hole in the pickup tube with the filter screen plug, and then press down.
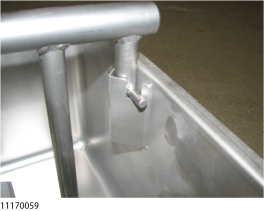
-
Position the pick-up tube so that both sides of the guides slide in to the holder bracket notches.

-
Press down on the pick-up tube to confirm it is fully engaged on the filter screen plug.

-
Place the crumb catcher into the drain pan so the legs straddle the filter screen.
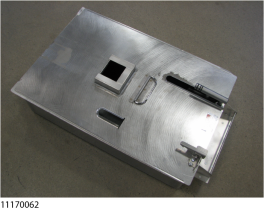
-
Place the lid onto the filter pan.
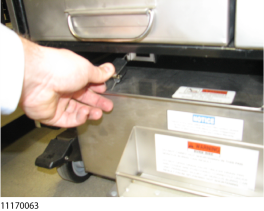
-
Push the filter pan into place and lock it into place using the locking latch.
